Welcome to the “Ultimate Guide to Setting up a Product Photography Studio at Home in 2023” In today’s world, compelling product images play a vital role in attracting customers and boosting sales. Whether you’re a small business owner, an entrepreneur, or simply passionate about photography, this guide will equip you with everything you need to create a professional product photography setup right in the comfort of your own home.
We’ll dive into the essential equipment, lighting techniques, and practical tips that will elevate your product photos to the next level. By following this comprehensive guide, you’ll unlock the potential to capture stunning visuals that will leave a lasting impression on your audience. It’s time to transform your home into a top-notch product photography studio. Let’s get started on this exciting journey together!
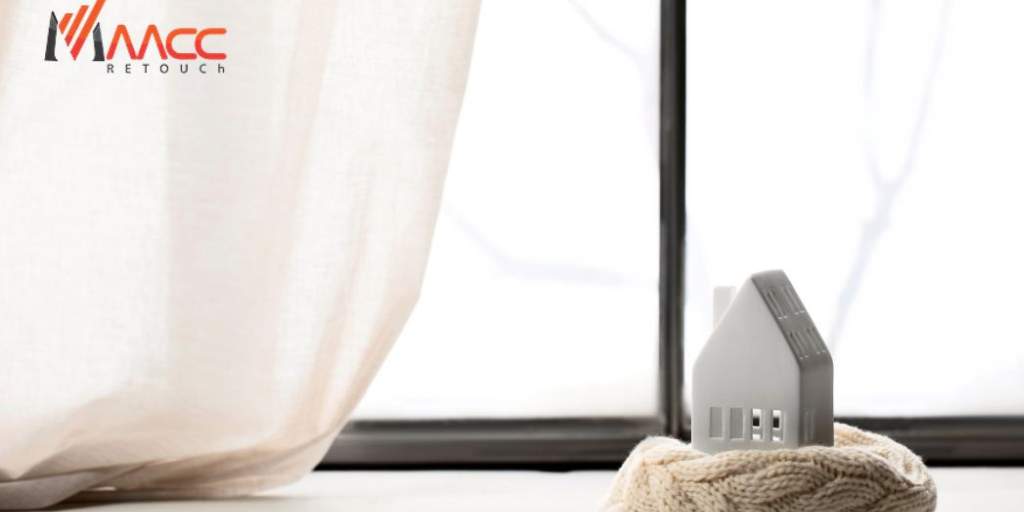
Why is Product Photography important? img
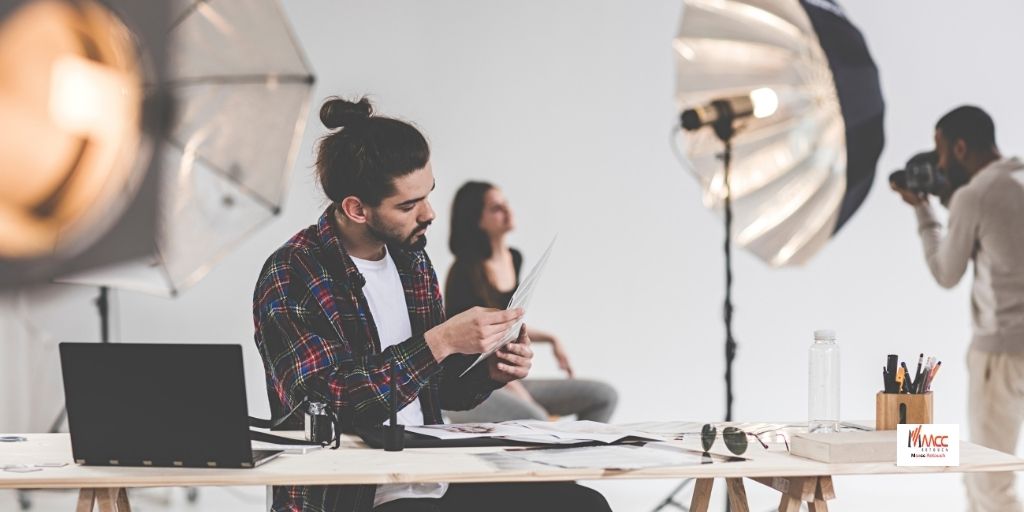
Product photography plays a crucial role in today’s digital marketplace. It is the visual representation of a product that customers rely on to make purchasing decisions. High-quality product images grab attention, convey professionalism, and build trust with potential buyers. With the rise of e-commerce and online shopping, customers heavily rely on product photos to assess the quality, features, and aesthetics of a product.
Well-crafted product images can showcase the product from various angles, highlight its unique selling points, and create an emotional connection with the audience. By providing clear, detailed, and visually appealing product photographs, businesses can significantly enhance their online presence, attract more customers, and ultimately boost sales. Effective product photography is a powerful tool for businesses to stand out from the competition and engage customers in today’s visually-driven market.
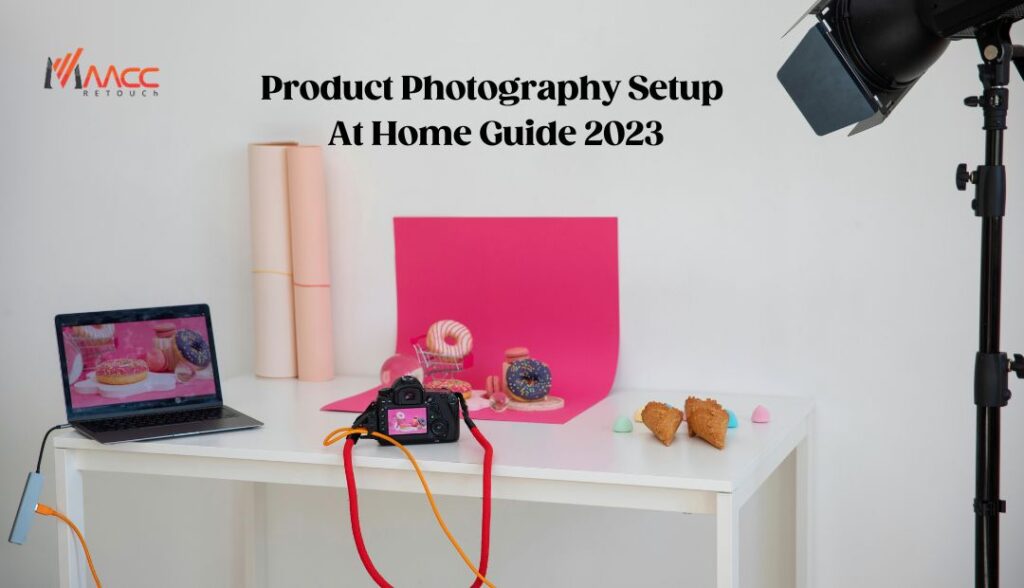
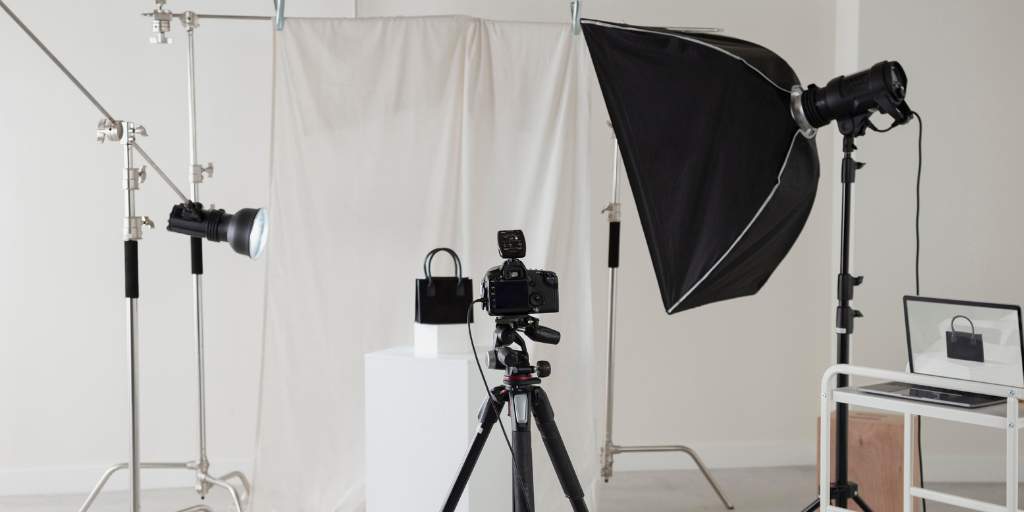
How to set up a home photography studio that can capture stunning white background product photos.
To set up a home photography studio for capturing stunning white background product photos, you’ll need the following essential items:
1. Camera
Invest in a DSLR camera or a mirrorless camera with manual controls. These cameras offer higher resolution and the ability to adjust settings such as aperture, shutter speed, and ISO for optimal image quality. Consider the camera’s sensor size and megapixel count for crisp and detailed images.
2. Tripod
A sturdy tripod is essential to keep your camera steady and eliminate blur, ensuring sharp, professional-looking images. Look for a tripod with adjustable height and stability to suit your shooting needs. Choose one that can support the weight of your camera and lens without wobbling.
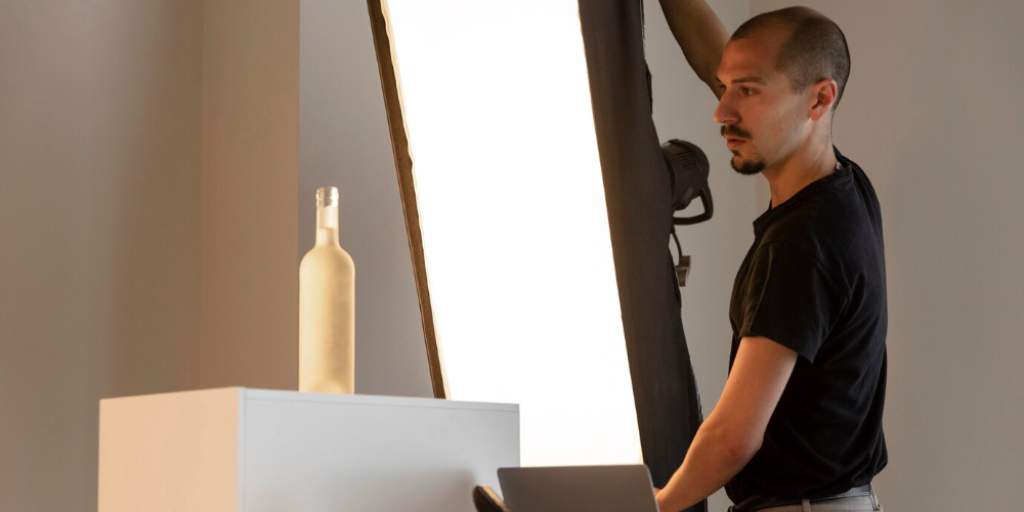
3. Lighting Equipment
Achieving proper lighting is crucial for white background product photography. Consider using a combination of continuous lights and/or studio strobes. Continuous lights are affordable and provide a constant light source, while studio strobes offer more power and flexibility. Softboxes, diffusers, or umbrellas can help diffuse and soften the light, reducing harsh shadows on the background.
4. Background Support System
Purchase a reliable backdrop stand or wall-mounted background system to create a seamless white backdrop for your product photos. The backdrop should be made of durable material and be large enough to cover the area you’ll be shooting.
5. White Background Material
Choose a white seamless background material like paper, fabric, or vinyl to achieve a clean and consistent look. Ensure that it’s wide enough to cover the product and blend seamlessly with the backdrop.
6. Reflectors and Light Modifiers
Use reflectors to bounce light back onto your subject and fill in shadows. Light modifiers like diffusers or reflector umbrellas can help control and shape the lighting for a more professional look
7. Product Styling Tools
Invest in tools like display stands, mannequins, or props to arrange and style your products effectively. These tools can help showcase your products from different angles and add visual interest to your photos.
8. Editing Software
Choose a reliable photo editing software like Adobe Photoshop or Lightroom to enhance and retouch your product images. These tools can help adjust colours, crop, sharpen, and make any necessary adjustments to create a polished result.
Remember to set up your photography studio in a well-lit area with enough space to position your products and equipment effectively. Experiment with different lighting setups, angles, and product arrangements to capture the best shots. With the right equipment and techniques, you can create stunning white background product photos right from the comfort of your home.
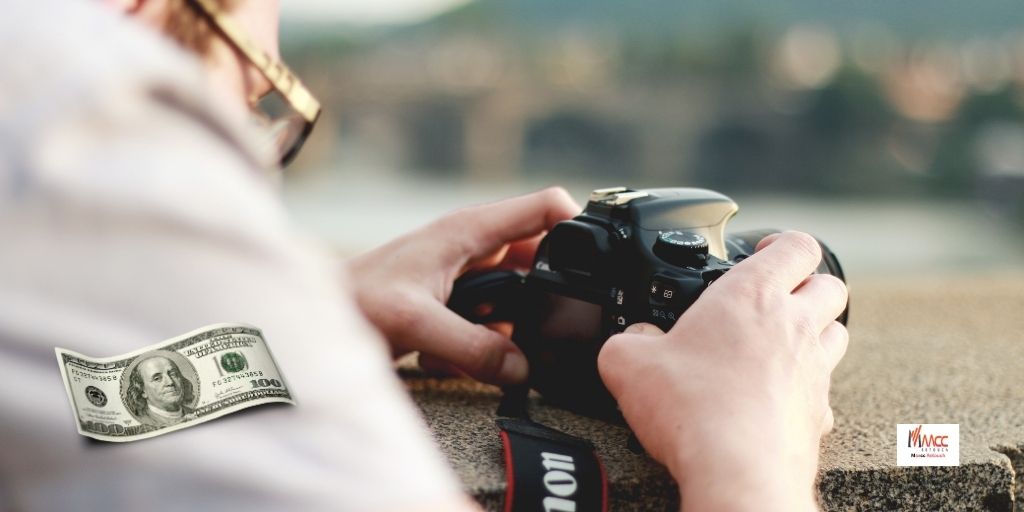
High-end equipment has its benefits but is not necessary to create great-looking product images.
You don’t need high-end equipment to create great-looking product images. Here’s a detailed breakdown of the equipment you can use to set up a home photography studio on a budget:
1. Camera ($320)
Look for a decent DSLR or mirrorless camera in the mid-range price category that offers manual controls and good image quality. Consider brands like Canon, Nikon, or Sony. You can find models that are affordable yet capable of capturing high-resolution images.
2. Memory Card ($9)
Invest in a reliable memory card with sufficient storage capacity to store your images. Look for a card with a fast writing speed to avoid delays during continuous shooting.
3. Tripod ($13)
A basic tripod with adjustable height and stability is crucial to keep your camera steady. Look for a lightweight yet sturdy option that can hold the weight of your camera.
1.4. Roll of Seamless White Paper ($35)
A roll of seamless white paper acts as a versatile backdrop for your product photography. Choose a width and length that suits your shooting needs. Simply unroll and hang it using clamps or tape to create a smooth, white background.
5. Foam Core Board ($23)
Foam core boards are useful for product photography as they provide a clean, white surface to place your products on. They can also be used as reflectors or to bounce light onto the product to reduce shadows.
6. Folding Table ($100)
A folding table provides a sturdy surface to set up your products for photography. Look for one that is large enough to accommodate your products comfortably. Consider the height and make sure it is adjustable if needed.
7. Duct Tape or Clamps ($9-$22)
Use duct tape or clamps to secure the seamless paper and foam core boards in place. This will ensure they remain flat and wrinkle-free during your photography session.
8. Window ($0):
Natural light from a window can serve as a fantastic light source for product photography. Position your table near a window to take advantage of soft, diffused lighting. Use sheer curtains or white fabric to diffuse the sunlight further if needed.
Remember, the key is to make the most of the equipment you have by understanding lighting techniques and composition. With a camera, tripod, backdrop, and some creativity, you can achieve impressive results without breaking the bank.
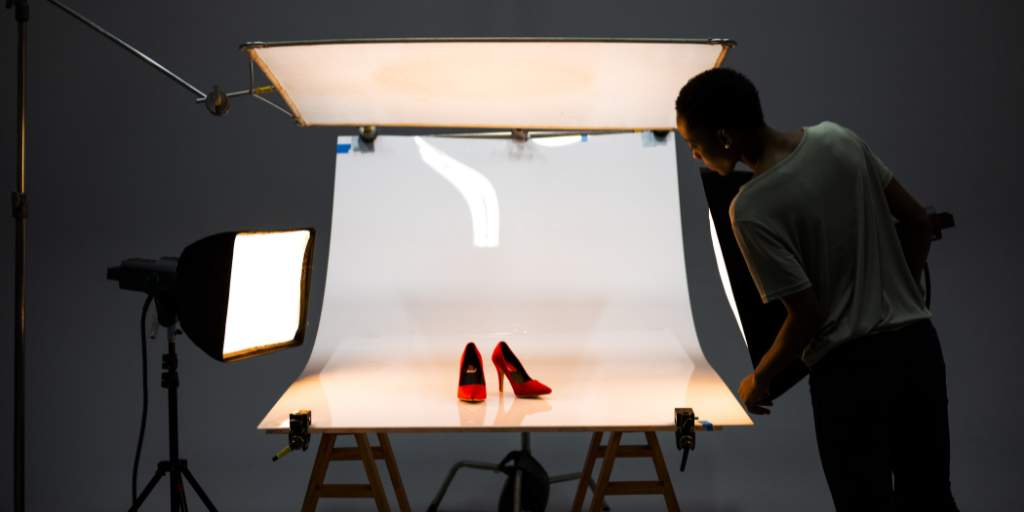
How to Set Up Your DIY Photo Studio
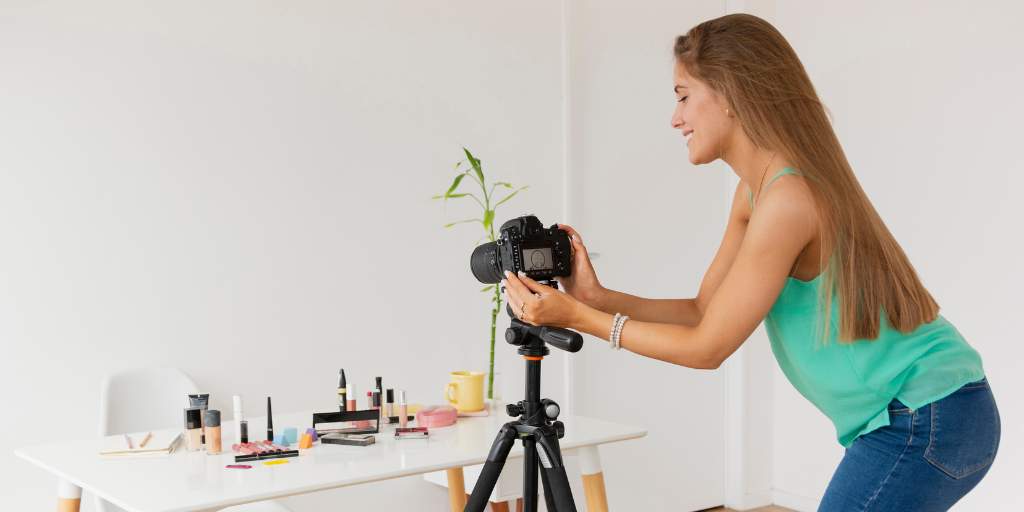
Setting up your DIY photo studio for product photography doesn’t have to be complicated. Here’s a step-by-step guide to help you get started:
Step 1: Table & Window
Find a sturdy table or surface near a window that provides ample natural light during the day. Position the table parallel to the window to take advantage of soft, diffused lighting. You can also use sheer curtains or white fabric to further diffuse the sunlight if needed.
Step 2: Seamless White Backdrop Paper & Tape
Unroll a large sheet of seamless white backdrop paper and tape one end of it to a wall or flat surface behind your table. Allow the rest of the paper to curve gently towards the table, creating a smooth white background. Secure the paper with tape or clamps so that it remains wrinkle-free and flat.
Step 3: Product
Place your product on the table in front of the white backdrop. Experiment with different compositions and angles to showcase the product’s key features. Use foam core boards as reflectors to bounce light onto the product and reduce any harsh shadows. Position them accordingly to create the desired lighting effect.
Ensure that there is enough space between the table and the backdrop to prevent any shadows from being cast on the backdrop. Adjust the position of the table and product until you are satisfied with the setup.
Once you have completed these steps, you are ready to start capturing stunning product images in your DIY photo studio. Remember to experiment with lighting, composition, and product placement to create visually appealing photos. With practice and creativity, you can achieve professional-looking results without the need for expensive equipment.
7 DIY Product Photography Tips that Will Transform Your Work
Here are 7 detailed DIY product photography tips that will transform your work:
1. Using a White Card for DIY Product Photography:
Place a white card or foam board opposite the light source to bounce light back onto the product. This technique is called “fill light” and helps eliminate harsh shadows, resulting in a more evenly lit image. Adjust the position and angle of the card to control the intensity of the fill light.
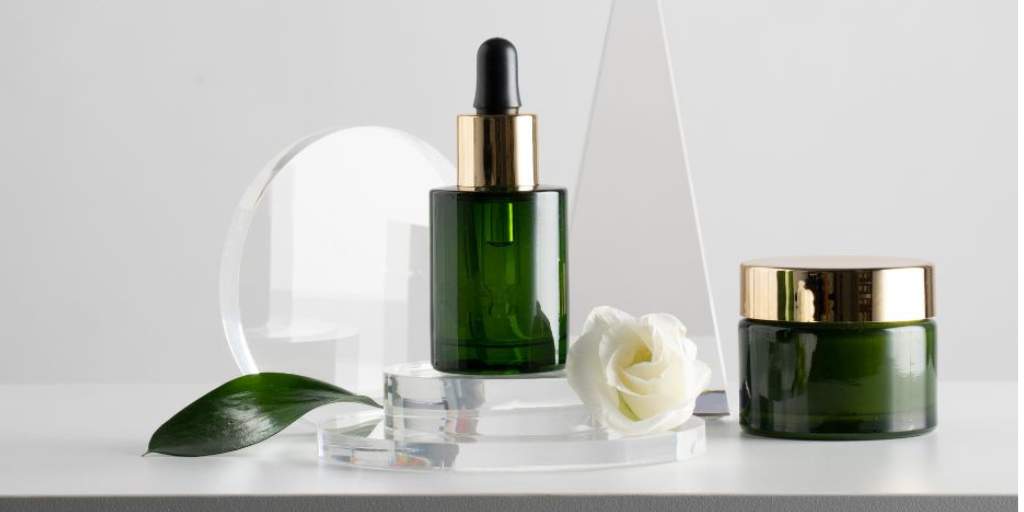
2. Use Glass for a Cheap Backdrop
Find a piece of glass or plexiglass that is larger than your product. Set it up vertically or at an angle behind the product to create a reflective surface. This creates an elegant, professional, and sleek backdrop with reflections that can add depth and interest to your photos.
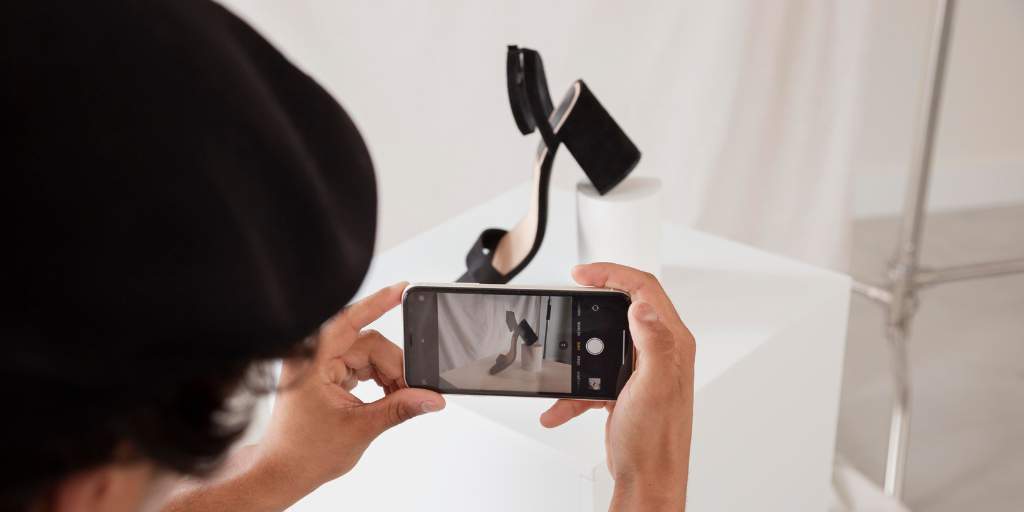
3. Use a Lazy Susan for 360 Product Shots
Place your product on a rotating platform like a Lazy Susan. This allows you to easily capture 360-degree shots by rotating the platform while maintaining the same positioning and lighting setup. This technique is especially useful for e-commerce or showcasing products from all angles.
4. Use a Shower Curtain for DIY Lighting
Attach a sheer white shower curtain over a window using clamps or tape. The shower curtain acts as a diffuser, softening harsh sunlight and creating a beautiful, diffused light that minimizes shadows. This technique works best on a sunny day.
5. Use Window Lighting for Different Effects
Experiment with different times of the day to capture unique lighting effects through a window. Morning and evening light tends to have a warm and soft quality, while midday light can be brighter and more intense. Play around with curtains or blinds to control the amount of light entering the room.
6. Go Outside for Natural Shots
Take advantage of outdoor spaces for product photography. Natural sunlight can provide excellent lighting conditions and unique backgrounds. Look for areas with interesting textures, foliage, or architectural elements that can complement your product and add visual interest to your photos.
7. Fake a Marble Backdrop for Food Products
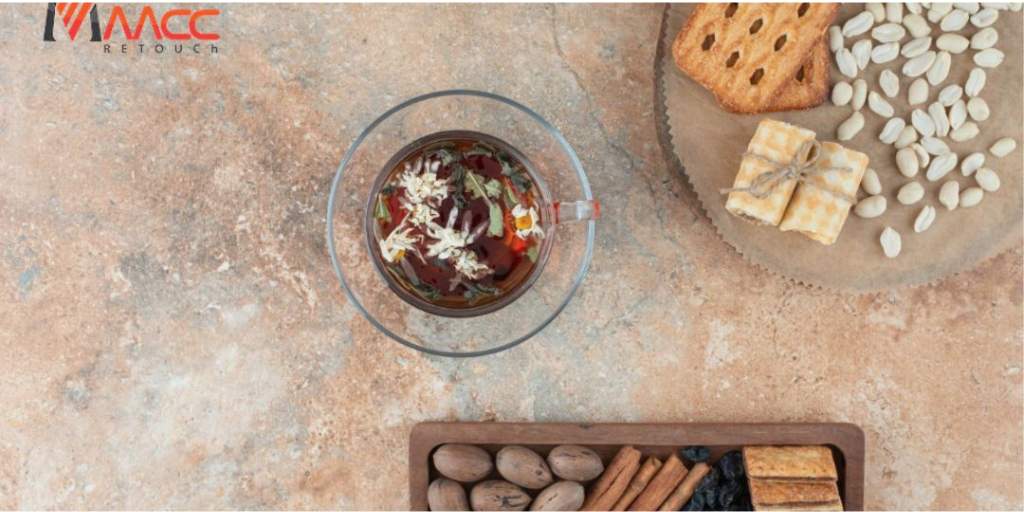
Create a mock marble backdrop using contact paper or printed marble textures. Simply tape the contact paper or printed image onto a large board or foam core to create a faux marble surface. This DIY backdrop gives a sophisticated and stylish look to your food product photos without the need for an actual marble surface.
By incorporating these detailed DIY product photography tips, you can significantly enhance the quality of your images without the need for expensive equipment or professional studios. Remember to experiment, and adjust lighting, and composition to create visually captivating and appealing product photos.