Furniture photography is a crucial element in showcasing the beauty and appeal of interior design. To capture stunning images that accentuate the furniture’s features, it’s essential to follow certain tips.
First, prepare the furniture meticulously, ensuring it’s clean and polished. Next, choose a suitable location with ample light and space. Selecting the right gear, setting up the camera correctly, and taking multiple shots from various angles are crucial for capturing the furniture’s essence.
Additionally, incorporating props, paying attention to lighting, and post-processing the images for a polished look all contribute to creating captivating furniture photographs that leave a lasting impression.
Some Furniture Photography Tips
Furniture photography is a specialized genre that requires attention to detail, composition, lighting, and styling. Whether you’re photographing furniture for a catalog, website, or personal portfolio, the following tips will help you capture stunning images that showcase the beauty and appeal of each piece. Let’s dive into each tip in detail:
Prepare Furniture for the Shoot
Before you start photographing furniture, it’s essential to prepare it properly. Clean the furniture thoroughly, removing any dust, smudges, or fingerprints. Pay attention to the material of the furniture and use appropriate cleaning methods. For wooden surfaces, polish and condition them to bring out their natural beauty. For upholstery, ensure it’s free of wrinkles or creases. By presenting the furniture in its best condition, you set the stage for visually appealing photographs.
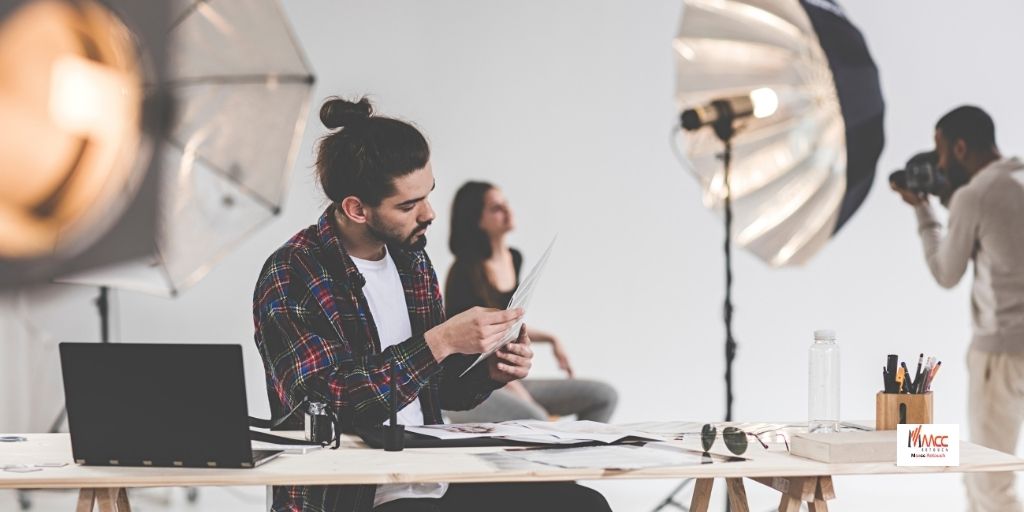
Choose a Suitable Location for the Photoshoot
The location you choose for your furniture photoshoot plays a critical role in the overall aesthetics of the images. Consider the style and purpose of the furniture when selecting the backdrop. A neutral or complementary background that doesn’t distract from the furniture is ideal. It could be a clean and minimalistic studio setting, a well-designed interior space, or even an outdoor environment. Additionally, ensure that the location has ample natural light or provides suitable lighting options for capturing the furniture’s details effectively.
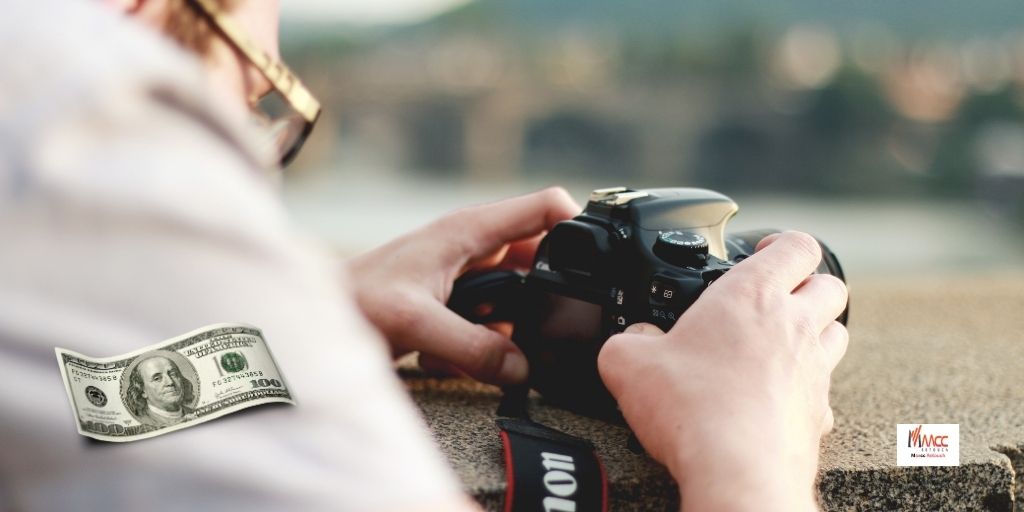
Pick the Best Gear
Investing in quality photography gear is vital for capturing impressive furniture images. While you can achieve good results with a high-end smartphone camera, using a DSLR or mirrorless camera with interchangeable lenses gives you more control over the composition and image quality. A wide-angle lens, such as a 24mm or 35mm, is commonly used for furniture photography as it allows you to capture the entire piece and the surrounding space. However, be mindful of distortion and adjust your positioning accordingly.
Set the Camera Correctly
Proper camera settings are crucial for achieving desirable results in furniture photography. Begin by setting your camera to its native or lowest ISO setting to reduce noise. Use aperture priority mode (A or Av mode) to control the depth of field. A smaller aperture (higher f-number) ensures that more of the furniture is in focus, while a larger aperture (lower f-number) creates a shallower depth of field, drawing attention to specific details. Experiment with different apertures to find the ideal balance for each shot.
Take Several Photos
Don’t settle for a single shot; take multiple photos from different angles and perspectives. Experiment with various compositions, capturing the furniture from different sides, heights, and distances. Start with wider shots that showcase the entire piece and the surrounding space. Then, move in closer to capture specific details, textures, and unique features. By doing so, you’ll have a wider selection of images to choose from, ensuring you capture the furniture’s best angles and features.
Use Props in the Shot
Introducing props into your furniture photography can enhance the composition and create visual interest. However, it’s essential to strike a balance between the furniture and the props. The props should complement the style and purpose of the furniture without overshadowing the main subject. For example, if you’re photographing a cozy reading chair, add a side table with a book and a cup of coffee. Simplicity is key, so be mindful of clutter and ensure the props enhance the overall aesthetic.
Don’t Neglect the Editing Step
Post-processing is a crucial part of the furniture photography workflow. Editing allows you to refine and enhance the images, making them more visually appealing. Start by adjusting basic parameters such as brightness, contrast, and saturation. Use software like Adobe Lightroom or Capture One for more advanced editing techniques, such as removing distractions, adjusting color balance, or fine-tuning exposure. Be careful not to overdo the editing, aiming for a natural and realistic representation of the furniture.
Show Multiple Views
To provide a comprehensive perspective of the furniture, showcase it from different angles and viewpoints. Capture shots from the front, back, sides, and top to give viewers a complete understanding of the piece. Highlight unique features or details by zooming in or taking close-up shots. If the furniture has adjustable components, such as reclining chairs or extendable tables, demonstrate their functionality through images. Presenting multiple views allows potential customers or viewers to visualize the furniture in different contexts.
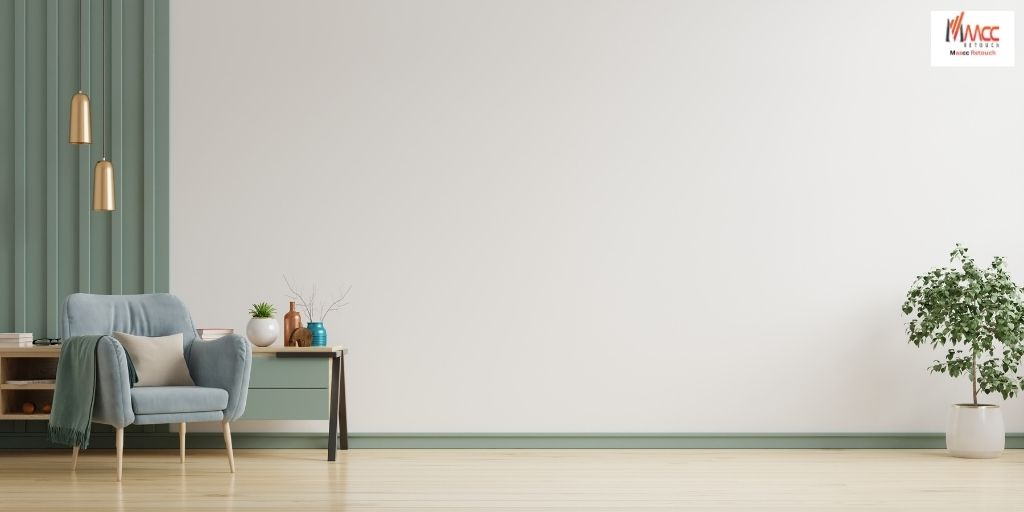
Create an Inviting Setting
Consider the overall ambiance and purpose of the furniture when staging the photoshoot. Arrange the furniture in a way that showcases its functionality and appeal. For example, if you’re photographing a dining table, set it with elegant place settings, tastefully arranged food, and perhaps a centerpiece. Creating an inviting setting helps potential viewers envision themselves using and enjoying the furniture. Pay attention to details such as table linens, lighting fixtures, and complementary decor elements that enhance the overall aesthetic.
Pay Attention to Lighting
Lighting plays a crucial role in furniture photography, as it can dramatically impact the mood and appearance of the images. Whenever possible, utilize natural light as it produces more pleasing and realistic results. Position the furniture near large windows or in well-lit areas of the room. However, be cautious of harsh shadows that may obscure details. Use diffusers to soften the light or reflectors to fill in shadows if needed. Experiment with different lighting angles to highlight textures and contours effectively. Consider using artificial lighting, such as strobes or continuous lights, to supplement or control the natural light. Understanding the principles of lighting and how it interacts with different materials will help you create compelling images.
Conclusion
In conclusion, furniture photography requires careful attention to detail, composition, lighting, and styling. By following these tips, you can elevate your furniture photography skills and capture stunning images that showcase the beauty and appeal of each piece. Remember to prepare the furniture meticulously, choose a suitable location, pick the best gear, set the camera correctly, take multiple photos, use props wisely, edit thoughtfully, show multiple views, create an inviting setting, and pay attention to lighting. With practice and experimentation, you’ll be able to create captivating furniture photographs that leave a lasting impression.